Pop off a thermostat cover and you’ll see a handful of colored wires, all plugged into tiny terminals. For most homeowners, it’s a moment of panic. “Wait… am I supposed to mess with that?”
Here’s the good news: thermostat wiring isn’t rocket science. If you know what each wire does, you’re already halfway there.
This guide breaks it down in simple terms. No jargon, no tech overwhelm—just the basics so you can handle simple swaps or understand what’s happening behind the scenes.
Table of Contents
Why Should You Even Care About Thermostat Wiring?
Maybe your old thermostat finally gave up. Maybe you’re eyeing one of those fancy smart ones. Either way, it helps to know what you’re working with.
Understanding thermostat wiring helps you:
- Install or replace a thermostat without frying your HVAC system
- Pick the right kind of thermostat for your setup
- Spot small issues before they turn into big problems
- Know when to DIY and when to call a pro
And hey, it feels good to know how your home works.
What Do the Wire Colors Mean?
In most homes with low-voltage systems (which is most of the U.S.), the thermostat wiring are color-coded. Not always perfectly, but enough to get a general idea.
Here’s a quick cheat sheet:
| Color | What It Does | Connected To |
|---|---|---|
| Red (R) | Power from the system’s transformer (24V) | R, Rc, or Rh |
| White (W) | Signals heat to turn on | W or W1 |
| Yellow (Y) | Turns on the air conditioner | Y or Y1 |
| Green (G) | Tells the fan to start | G |
| Blue or Black (C) | Constant power (needed for smart thermostats) | C |
Keep this in mind:
Just because a wire is red doesn’t always mean it’s doing the R wire’s job. Someone might’ve wired things differently before you moved in. Always look at what terminal it’s connected to.

Different HVAC Systems = Different Wiring Setups
Not every home has the same heating and cooling setup. And that affects how many wires you’ll see behind the thermostat.
1. Single-Stage Systems
These are the most basic systems—one heating and one cooling stage.
You’ll typically see 4–5 wires: R, W, Y, G, and maybe C.
2. Two-Stage or Multi-Stage Systems
These systems offer more control. Instead of just “on” and “off,” they can run at different power levels.
You’ll likely see W2, Y2, or other extra terminals.
3. Heat Pump Systems
These are different. They heat and cool using the same equipment.
You’ll probably find:
- An O or B wire (for switching between heating and cooling mode)
- AUX or E (for emergency heat)
4. Dual-Fuel Systems
Got a heat pump and a gas furnace? That’s a dual-fuel system.
Wiring gets a bit more complex here, and it’s usually best to let an HVAC pro handle it.
How to Check What Wires You’ve Got
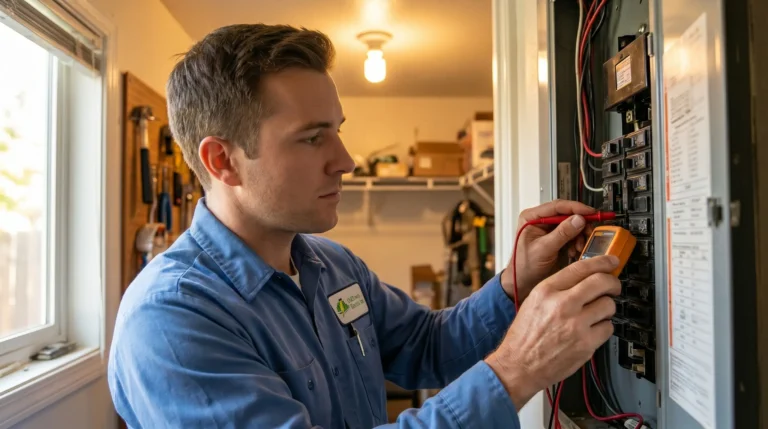
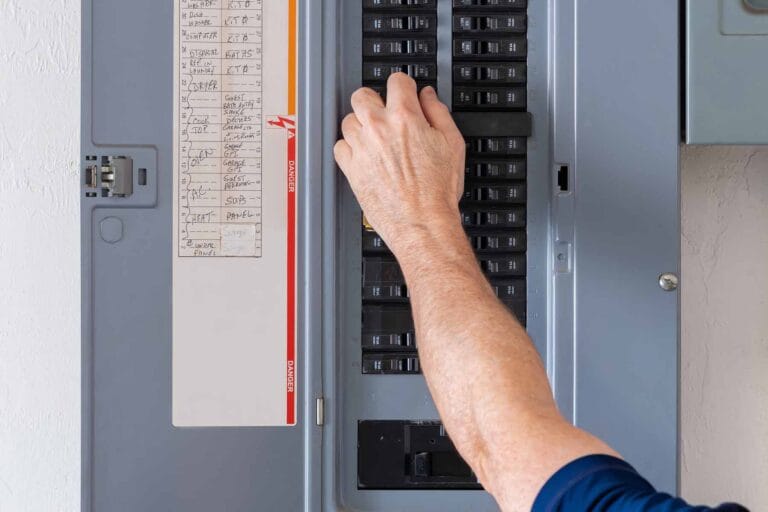
Before you do anything—turn off the power to your HVAC system at the breaker box. Seriously. Safety first.
Then do this:
- Take off the thermostat cover.
- Take a photo of the wiring—yes, take a picture. It helps later.
- Write down which wires go to which terminals.
- If needed, label the wires with masking tape and a pen.
🔧 Pro Tip: Label based on the terminal, not just the color. You’re matching function, not just what the wire looks like.
Replacing or Installing a Thermostat (Step by Step)
Once you know what you’re working with, installing a new thermostat isn’t too bad.
Here’s the basic process:
- Turn off the HVAC power at the breaker.
- Remove the old thermostat and take note of wire connections.
- Mount the new thermostat’s base plate.
- Pull the wires through and connect them to the correct terminals:
- R to R
- W to W
- Y to Y
- G to G
- C to C (if you have one)
- Screw everything in, power it back up, and follow the thermostat’s setup instructions.
Smart thermostats will often walk you through setup step-by-step. Some even have compatibility checkers on their website. Take advantage of that.
What If You Don’t Have a C Wire?
This one’s common.
A lot of older homes don’t have a C wire, but smart thermostats need one to stay powered.
Your options:
- Use a C-wire adapter (sometimes included with smart thermostats)
- Add a new wire (more effort, may need to go into your HVAC unit)
- Use a thermostat that works without a C wire (but has limited features)
If you’re not comfortable messing with the furnace control board to add a C wire—don’t. Hire someone. It’s not worth breaking something.
Common Thermostat Wiring Issues (and Fixes)
Here are a few issues people run into when they try to wire or replace their own thermostat:
1. Blank Thermostat Screen
- Power might be off.
- C wire might be missing.
- Loose wire connection? Double-check.
2. Heat or Cool Won’t Turn On
- Miswired terminals? (Especially the O/B wire for heat pumps.)
- Jumper missing between Rc and Rh? Some systems need it.
3. Fan Won’t Stop Running
- Fan setting might be stuck on “On” instead of “Auto.”
- G wire could be shorted or connected incorrectly.
The good news? Most problems are minor—just a wire in the wrong place.
When It’s Time to Call a Pro
You can do a lot on your own. But sometimes it makes more sense to bring in someone who does this every day.
Call an HVAC or electrical pro if:
- You have a multi-stage or heat pump system and aren’t 100% sure what goes where
- You need to run a new wire from your furnace
- The new thermostat just won’t power on
- The system isn’t responding after installation
It’s better to pay a pro once than replace your whole HVAC system because something shorted out.
You’ve Got This
If you’ve made it this far, you’re ahead of most homeowners. Thermostat wiring might look complicated, but once you understand the roles of each wire and follow the correct steps, it’s not too bad.
Just remember:
- Always kill the power before doing anything
- Take a photo before removing wires
- Match by terminal label, not color alone
- Don’t force it—if something doesn’t make sense, stop and double-check
You don’t have to be an expert to do this—you just have to be careful and follow the basics.