If you’ve recently joined the electric vehicle movement, or you’re about to, you’ve probably heard the phrase “Level 2 charger” tossed around. Unlike the slow, stock Level 1 chargers that plug into a regular outlet, a Level 2 EV charger is the key to faster, more practical charging at home.
But how much does it really cost to install one in California?
Let’s break it down with real numbers, real scenarios, and a few honest insights from what we’ve seen here at Old Town Electric helping homeowners all across the state.
Table of Contents
What Is a Level 2 EV Charger, Anyway?
Before we dive into costs, let’s clarify what you’re actually paying for.
A Level 2 EV charger delivers 240 volts of power, compared to the 120 volts from your standard wall outlet (Level 1). The result? Way faster charging times.
For most EVs:
- Level 1 charger = 4–5 miles of range per hour
- Level 2 charger = 25–30 miles of range per hour
That’s the difference between waiting all night vs. charging up during dinner.
And because California has one of the highest rates of EV adoption in the U.S., many new homes and upgrades are designed with EV charging in mind. But that doesn’t always mean your setup is plug-and-play.
The Real Cost to Install a Level 2 Charger in California
Let’s get to it. Most homeowners in California will spend $800 to $2,500 for a full Level 2 EV charger installation, depending on a few key factors.
Here’s a typical breakdown:
| Item | Estimated Cost Range |
|---|---|
| Charger Unit | $400 – $900+ |
| Electrical Work & Labor | $600 – $1,500+ |
| Permit Fees (city/county) | $100 – $300+ |
| Panel Upgrade (if needed) | $2,500 – $4,000+ |
| Total (Typical Range) | $800 – $2,500+ |
Some jobs cost more. If your home is older or your electrical panel is maxed out, that’s where the price starts to climb.
Key Factors That Affect Your Installation Cost
There’s no one-size-fits-all quote, and here’s why.
1. Distance From the Electrical Panel
The farther your charger is from your panel, the more labor and materials are involved. Running conduit or wiring across the house, or through drywall or exterior stucco, can quickly add $300–$700.
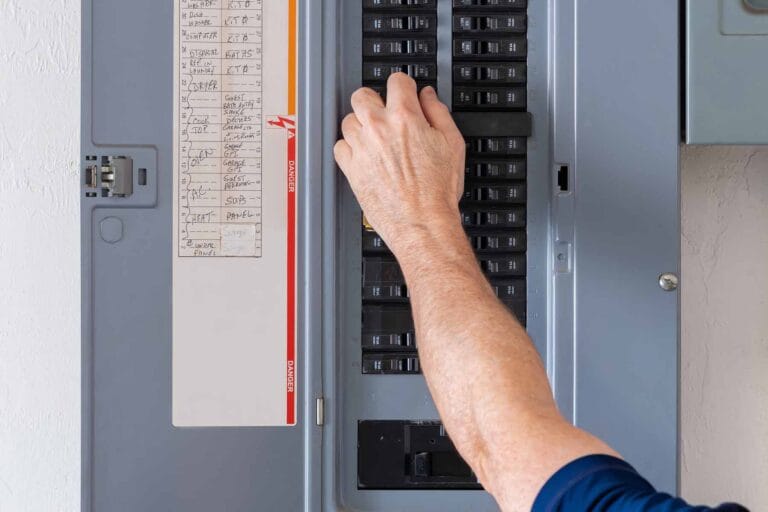
2. Electrical Panel Capacity
Does your panel have enough room (amperage) for the charger? Many homes built before 1990 don’t. In that case, expect to pay extra for a panel upgrade, which could cost $1,500 to $3,000 depending on location and complexity.
3. Permit & Inspection Requirements
California cities often require a permit and inspection. That’s a good thing, it keeps your home safe and code-compliant. But it adds fees and extends the timeline. Each city is different. In Sacramento or San Diego, permit fees might be $150–$250. In smaller counties, they could be lower.
4. Charger Type and Brand
Some chargers are hardwired. Others plug into a NEMA 14-50 outlet. Some are Wi-Fi enabled or compatible with smart home systems. That can affect labor and cost.
Popular brands like ChargePoint, JuiceBox, Tesla Wall Connector, and Grizzl-E range from $400 to $800 on average.
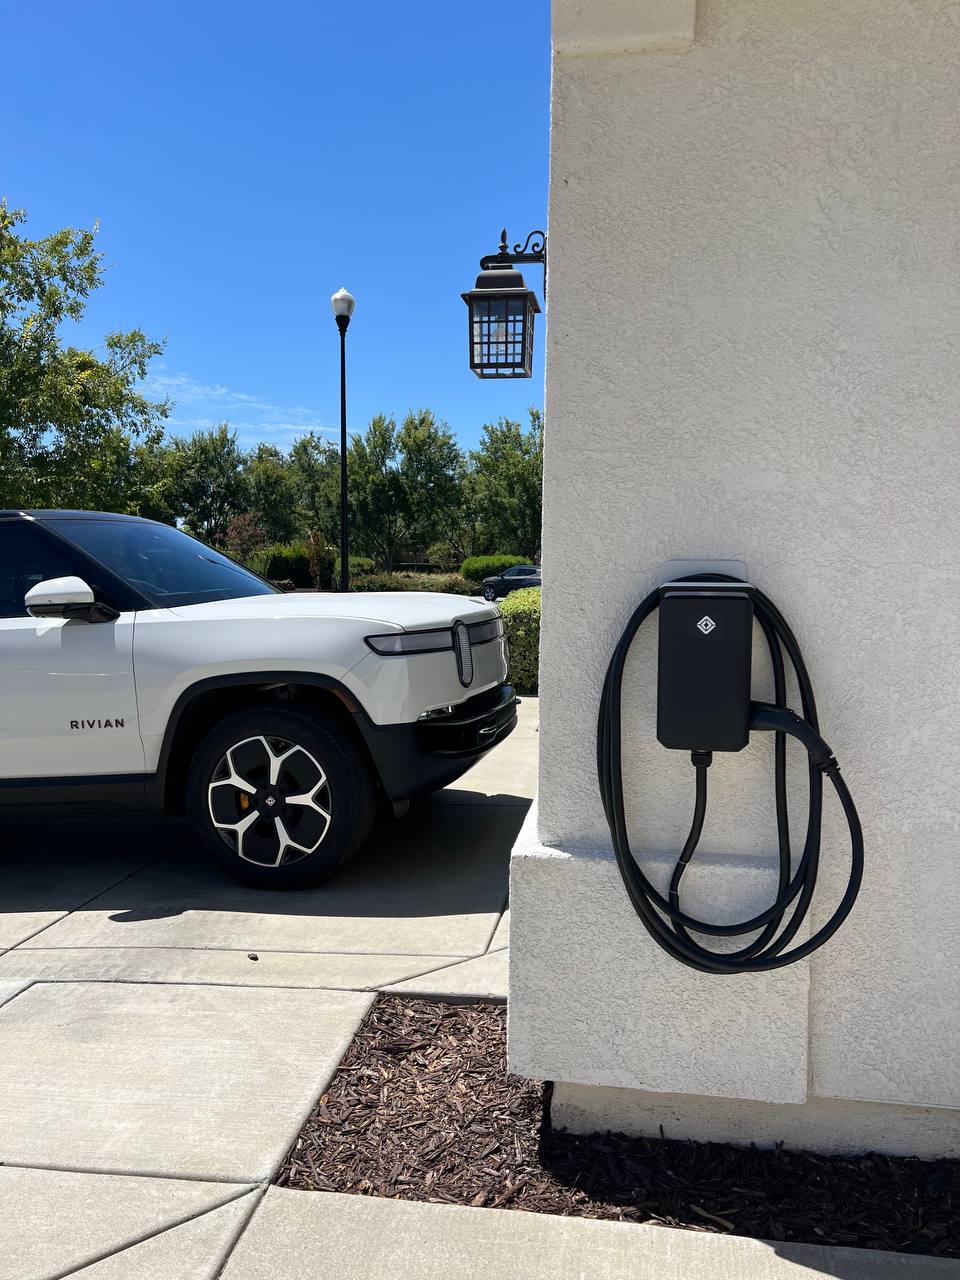
A Real-World Example from a California Homeowner
Let’s say you drive a Tesla Model Y and live in a 1980s home in Roseville, CA. You want to charge overnight and need your charger installed in the garage, about 20 feet from your main panel.
- Charger Unit (Tesla Wall Connector): $475
- Labor (conduit run, hardwiring, permit): $1,000
- Permit Fees: $200
- No panel upgrade needed
Total cost: $1,675
Timeframe: 1 day install + 1 day inspection.
Not bad for convenience, peace of mind, and saving dozens of hours a month at public charging stations.
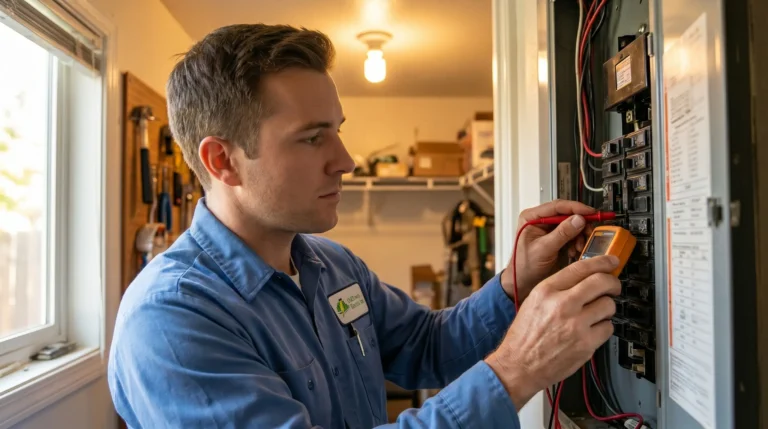
Can You Install It Yourself?
Technically? Yes, if you’re a licensed electrician and your city allows it.
Practically? No. Most cities in California require the work to be done, or at least signed off, by a certified electrician. Messing with 240V circuits without proper experience is a recipe for a costly mistake or fire hazard.
Plus, a professional install ensures:
- Proper permits and code compliance
- Safe wire sizing and load calculation
- Warranty coverage for both parts and labor
Are There Rebates or Incentives Available?
Here’s the good news: California offers several rebate programs that can lower your out-of-pocket cost significantly.
Programs to look into:
1. California Clean Vehicle Rebate Project (CVRP)
While it doesn’t cover chargers directly, it provides up to $2,000 for eligible EV purchases, freeing up your budget for the install.
2. Utility-Specific Rebates
Some electric utilities offer direct incentives or free chargers, such as:
- PG&E: Up to $500 rebate for Level 2 charger installation
- Southern California Edison: Up to $1,000 for income-qualified customers
- LADWP: Up to $500 rebate per charging station
Check your local utility provider’s EV page or rebate finder.
How to Save on Your Installation
Want to stay on the lower end of that $2,500 range? Here’s how:
- Install near your electrical panel to reduce conduit and labor
- Use an existing NEMA 14-50 outlet, if already available
- Ask your electrician about load-sharing options to avoid panel upgrades
- Shop for rebates before buying the charger
- Bundle with other electrical upgrades (panel, lighting) for efficiency
- Choose a licensed electrician familiar with EV installations
At Old Town Electric, we’ve handled hundreds of these projects across Northern California. We’ve seen it all, and we know how to keep it code-compliant and cost-effective.
Is It Worth It?
Let’s be real, installing a Level 2 charger isn’t always cheap. But if you drive an EV every day, the convenience is worth its weight in gold.
You’ll:
- Charge 5–6x faster than a Level 1
- Avoid the hassle of public charging
- Future-proof your home for resale
- Access time-of-use electric rates that can save you money
Most of our customers tell us the same thing: “I should’ve done this sooner.”
Final Takeaway
The cost to install a Level 2 EV charger in California depends on a mix of variables, your home’s electrical setup, where the charger’s going, what brand you buy, and local permits.
On average, expect to pay $800 to $2,500. More if a panel upgrade is required. Less if you’ve already got a setup ready to go.
Looking for an accurate quote or ready to get started?
Contact Old Town Electric today and speak to a licensed expert who knows how to make EV charger installations simple, safe, and affordable.
We’ve got your back, from permit to plug-in.
FAQs: Level 2 EV Charger Installation in California
1. Do I need a permit to install a Level 2 charger at home?
Yes. In most California cities, permits are required for safety and code compliance. A licensed electrician will handle this for you.
2. Can I install the charger outside?
Yes, many Level 2 chargers are rated for outdoor use (look for NEMA 3R or NEMA 4). Weatherproofing and placement are key.
3. What if my panel doesn’t have enough capacity?
If your panel is full or undersized, you may need an upgrade. Some chargers support load-sharing or dynamic load management, which can help you avoid a full upgrade.
4. How long does installation take?
Usually 3–6 hours. If permits or panel upgrades are involved, total time (including inspection) may take a few days.
5. Will this increase my electricity bill?
Yes, but it’s still cheaper than gas. Charging overnight during off-peak hours (time-of-use rates) can cut your charging costs significantly.
6. Can I use my dryer outlet?
Sometimes, but it’s not recommended unless it’s on a dedicated 240V circuit and allowed by code. Most EVSEs require a dedicated outlet.
NEMA Plug vs. Hardwired Charger: What’s the Difference?
| Feature | NEMA Plug-In | Hardwired Installation |
|---|---|---|
| Connection Type | Plugs into a 240V outlet (usually NEMA 14-50) | Wired directly into electrical panel |
| Installation Cost | Lower (if outlet exists) | Higher (more labor) |
| Flexibility | Portable; can unplug and move | Fixed; not easily moved |
| Permits Required | Sometimes (depends on local code) | Yes (always required in CA) |
| Outdoor Use | Needs weatherproof outlet cover | More secure and weather-resistant |
| Best For | Renters, temporary installs | Permanent, cleaner installs |
| Load Sharing | Limited options | More compatibility with smart load sharing |
Bottom line?
- Go NEMA plug if you want flexibility or already have the outlet.
- Choose hardwired for a cleaner, more permanent install with fewer compatibility issues.