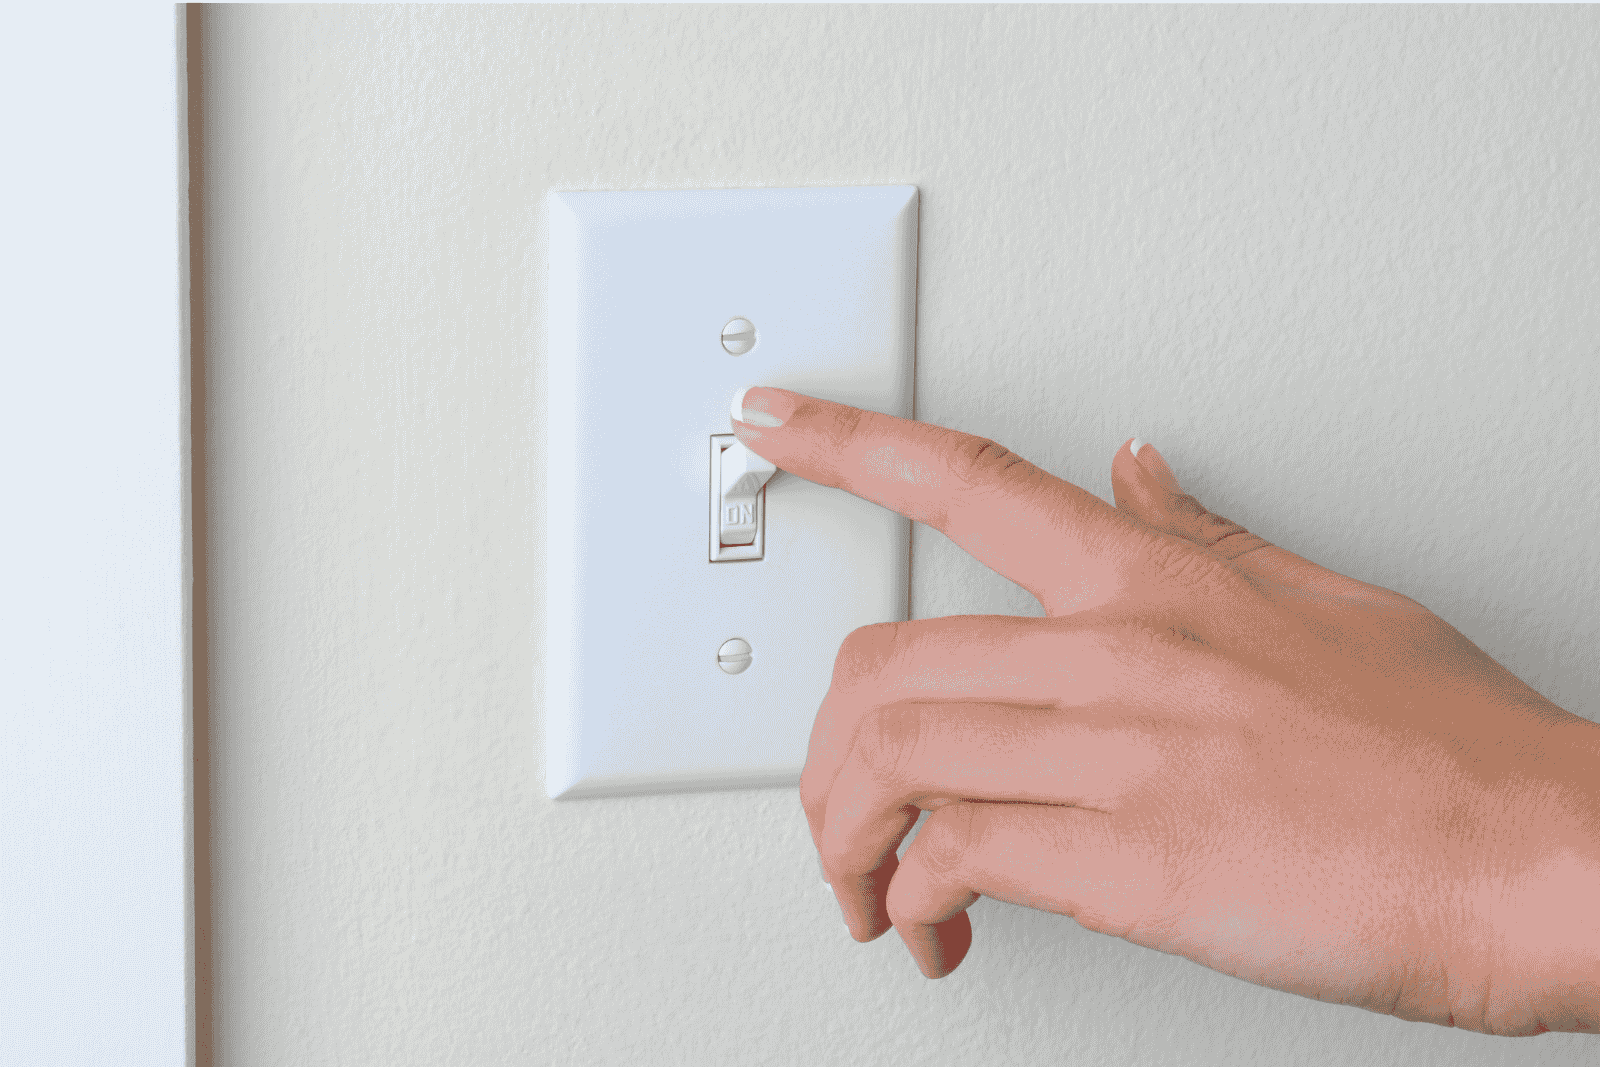
If you’ve ever walked into your living room in Roseville or Fair Oaks, flipped a light at one switch and then found another switch at the other end of the room and wondered how that all works, this is for you. At Old Town Electric, we’ve seen it dozens of times in older homes around Sacramento, Carmichael, Folsom and Rocklin. Wiring a 3-way switch isn’t mysterious when you know what you’re doing, and how it fits into your home’s wiring.
Here’s what the focus keyword is: how to wire a 3-way switch. We’ll use it throughout so you and your local electrician can stay on the same page.
Table of Contents
Older homes in the Sacramento region, say mid-century builds in Carmichael or cottages in Fair Oaks from the ’70s, often have simple single-pole switches controlling a light. But as homeowners renovated, they added a second switch at another door, hallway or another end of the room.
In newer builds in Roseville or Rocklin, builders may install 3-way switches from the get-go so you can control the lights from two locations.
So when you ask “how to wire a 3-way switch,” you might be dealing with:
- converting a single switch to a 3-way, or
- repairing or replacing an existing 3-way setup that’s mis-wired or malfunctioning.
We see this often: homeowners call us saying “the upstairs hallway light can only be switched from one end, even though there is a switch at the other end.” What that really means is the wiring was changed, but the correct 3-way wiring was never completed.
Why It Matters
Getting the wiring correct isn’t just about convenience. It’s about safety, function, and certainty.
- A mis-wired 3-way switch can lead to flickering lights, switches that don’t work in sync, or worse, an energized traveler wire when you think it’s off.
- If switches and circuits aren’t wired to local code (for example via National Fire Protection Association’s National Electrical Code), you could run into inspection issues.
- In Sacramento’s climate (hot summers, houses with age), wiring that’s performed correctly helps avoid added load, overheating, or nuisance breaker trips.
- For homeowners, it’s frustrating to walk into a room, flip a switch, then walk out and realize the light didn’t go off because you had the “wrong” switch. Truth is, most issues start small and grow quietly behind the walls.
When you learn how to wire a 3-way switch properly, or engage someone who does, everything works together. You get full control from two spots. You avoid future headaches.
Field Experience Example
Give you a real-life scenario from our work in Sacramento:
We were called to a mid-’60s home in Carmichael. The living room has two doorways. One original switch worked fine. The homeowner installed a second switch near the other door later, but now neither switch reliably turned the lights on or off.
Our team went in and found this: the original wiring had a single‐pole switch controlling the light. The added second switch was wired like another single‐pole, not a proper 3-way. The “traveller” wires were missing; the common terminal was mis-used.
We rewired it with a true 3-way setup: a 3-wire (hot/traveler/traveler) cable between the switches, common from power source to one switch, and common from second switch to the light. Once done, both switches now control the light reliably.
What that meant for the homeowner: no more guesswork, consistent operation, and no more paying for repeated service calls.
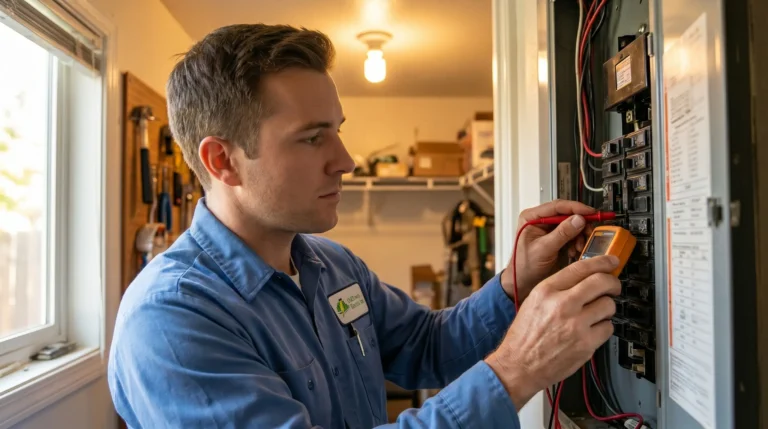
Our Process / Solution
Here’s how we at Old Town Electric approach wiring a 3-way switch in a home around Sacramento or nearby cities:
- Power off. We shut off the breaker feeding the circuit (always verify with a tester).
- Inspect the boxes. We open both switch boxes and trace whether the feed (hot) enters one switch box or the light box. We check for 14-3/12-3 cable (hot + two travellers + ground) between the switches. If not present, we add the proper cable. Diagrams on wiring sites show this clearly.
- Identify wires. We locate the common (hot or switched hot) terminal in each switch. The travellers go to the other two screws. We mark wires accordingly (often we’ll tape the white traveler black to indicate it’s hot).
- Connect the switches. One switch’s common gets the hot feed, the travellers go to its traveller screws. The second switch’s common goes to the light’s hot leg, travellers to its traveller screws. Grounds get tied and connected.
- Test operation. We flip each switch in every possible combination to confirm the light toggles properly. If it doesn’t, we check wiring path, continuity, and any shorts.
- Hook up neutrals and label. While the travellers handle control, we ensure the circuit neutral is properly tied together (not switched). And we label traveler wires where needed, especially if the wire colour wasn’t standard.
- Final check and close-up. We turn the breaker back on, confirm everything works, and then close up the boxes with appropriate cover plates.
Cost Factors
Let me be straight, there’s no fixed price for “how to wire a 3-way switch,” because it depends on what we find. But here are what affect the cost:
- Is there already a 14-3/12-3 cable between switch boxes? If yes, less labour. If not, running new cable (through walls/attic/garage) increases cost significantly.
- Accessibility: In older homes (say Sacramento older subdivisions) the switch boxes might be tight, or the wall finish difficult. More labour. In newer builds (Rocklin/Folsom) access might be easier.
- Number of switches/circuits: If one circuit feeds multiple lights or has other switching points, complexity increases.
- Local code/permit issues: If your municipality (Sacramento, Roseville, etc) requires permit or inspection, that adds time and cost.
- Upgrades: If you’re swapping to decorator switches, adding dimmers, or smart-switch connectivity, that adds parts & labour.
As a ball-park: If everything is ready (cable present, boxes accessible) we’ve seen a 3-way switch setup done for $200-$400+ in the Sacramento area. If there’s a lot of access or new wiring needed, it can run $500-$800+. We always provide an upfront estimate.
Common Misconceptions
- Myth: “You can just add a second single-pole switch and it will act like a 3-way.”
- Reality: No. You need the correct wiring path, feed, two travellers, and the switch leg. Without proper wiring, the second switch won’t behave correctly.
- Myth: “3-way switches always require a neutral in both switch boxes.”
- Reality: According to the 2020 NEC, only one switch box in a 3-way circuit may require a neutral under certain conditions.
- Myth: “If it worked when we bought the house, we don’t need to inspect it.”
- Reality: Older wiring might be non-compliant, or wires may have been repurposed improperly. It’s worth checking for safety and reliability, especially in homes built before widespread code updates in the Sacramento region.
Why Work With a Local Electrician
When you’re asking about “how to wire a 3-way switch,” you might be tempted to DIY. At Old Town Electric we serve Sacramento, Fair Oaks, Folsom, Carmichael, Rocklin and Roseville. Here’s why we recommend local help:
- We know SMUD standards (or the local utility in your area) and the permits/inspections typical in Sacramento and the nearby cities.
- We’re familiar with older wiring in Sacramento homes, knob-and-tube replacements, when travellings were added later, weird junctions behind walls.
- We understand local building practices: homes built in the ’60s versus new construction in the ’20s, differences in framing, finishes, access.
- We respond to the typical seasonality here, summer heat, wiring expansion, basement/garage wiring issues common in our region.
- You get warranty and accountability. If something goes sideways, you don’t have to call a general handyman, you have a licensed electrician who stands behind the work.
Benefits for Homeowners
Here’s what you gain by doing it right:
- Both switches will reliably control the light. No guessing, no weird behavior.
- Improved safety. Proper wiring, proper use of travellers and likely code-compliance.
- Avoid surprise costs later. A mis-wired 3-way may lead to breaker overload, flicker, or other issues.
- Peace of mind. Especially in older Sacramento homes, you want your wiring to work as expected, not only when you move in but for years to come.
- Better resale value. If you ever sell your home in Folsom or Rocklin, having circuits done correctly helps a home inspector feel confident.
Conclusion
So here’s the thing: If you’re wondering how to wire a 3-way switch in your Sacramento area home, you’re asking the right question. Done properly, it’s not complicated. Done wrong, it’s a source of frustration and risk. At Old Town Electric, our team of licensed electricians has handled hundreds of these jobs across Fair Oaks, Folsom, Carmichael, Rocklin and Roseville.
If you’d like us to take a look at your setup, give us a call. We’ll walk you through what you have, what’s required, and give you a clear estimate. No fluff. No jargon. Just reliable service from people who’ve done this day in, day out.
You deserve light switches that work the way you live. Let’s make that happen. When you’re ready, we’re here.