Running out of breaker space in your main panel? Need to get power to a detached garage, workshop, or new addition? That’s where a subpanel comes in.
A subpanel helps you extend your home’s electrical capacity. It gives you a cleaner, safer way to manage multiple circuits in a specific part of your home. But wiring one requires planning, precision, and strict attention to electrical code.
This guide breaks down what you need to know, step by step.
Table of Contents
What Is a Subpanel?
A subpanel is a secondary breaker box. It doesn’t replace your main service panel, it feeds off it. Think of it as a branch from the main panel, designed to power a specific area.
You might install one to:
- Add new circuits when your main panel is full
- Provide power to a garage, basement, or backyard unit
- Keep high-load appliances or tools on dedicated circuits
- Make future maintenance and upgrades easier
A properly installed subpanel keeps your system organized, and keeps you compliant with local code.
Before You Start: Know What You’ll Need
Subpanel installations vary, but here are the basics:
- Subpanel (typically 60–125 amps)
- Double-pole breaker for your main panel
- Four-wire feeder cable (two hots, one neutral, one ground)
- Electrical conduit and clamps
- Ground rod (for detached buildings)
- Tools: voltage tester, screwdrivers, wire strippers, drill
You’ll also need time—and patience. Rushing electrical work is never worth it.
Step-by-Step: How to Wire a Subpanel
1. Cut the Power
Start at the main panel. Shut off the main breaker. Then test for voltage on the panel’s bus bars and lugs. Don’t assume it’s off. Always verify.
2. Install a Double-Pole Breaker in the Main Panel
Pick a breaker that matches the amperage of your subpanel, usually 60A, 100A, or 125A. It will occupy two adjacent slots and deliver 240 volts via two hot wires.
3. Run the Feeder Cable
Use a four-conductor cable:
- Black and red (hot wires)
- White (neutral)
- Bare copper or green (ground)
The wire gauge depends on amperage and distance. Here’s a rough guide:
| Subpanel Amps | Copper Wire | Aluminum Wire |
|---|---|---|
| 60A | 6 AWG | 4 AWG |
| 100A | 4 AWG | 2 AWG |
| 125A | 2 AWG | 1/0 AWG |
If you’re going more than 100 feet, size up to reduce voltage drop.
Run the cable through conduit where required. Support the line at regular intervals with proper clamps or straps.
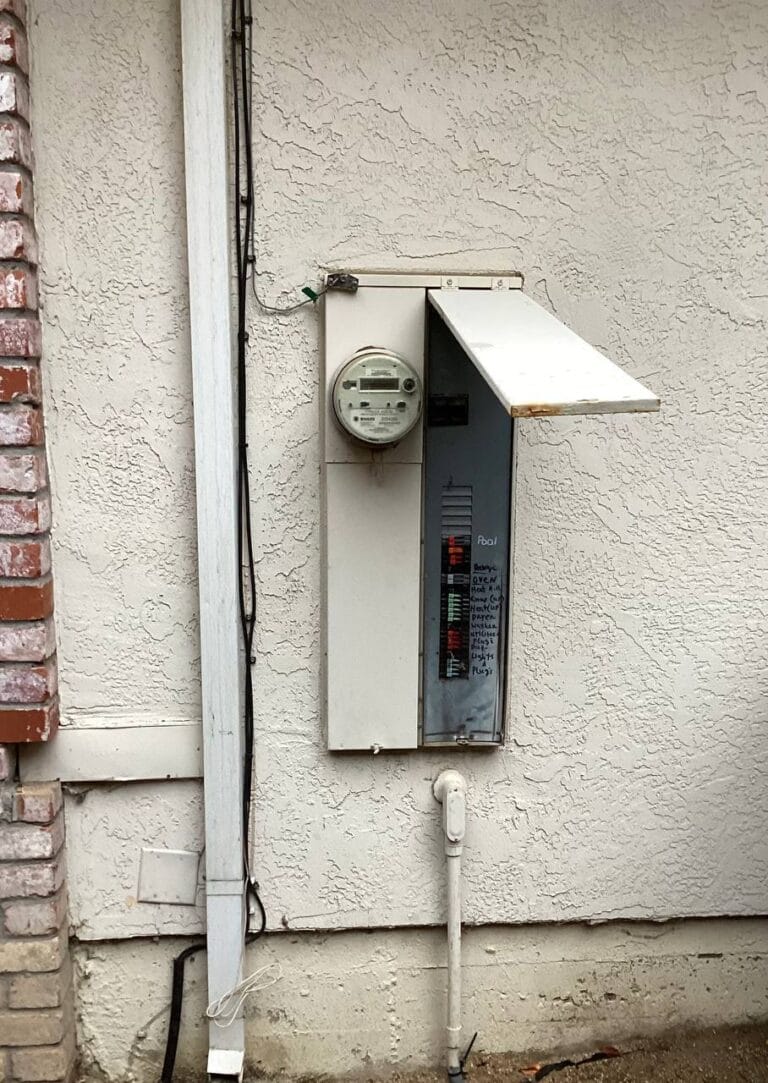
4. Mount the Subpanel
Choose a spot with enough clearance, at least 30 inches wide and 36 inches deep. The panel should be mounted at eye level on a solid surface. Indoors or out, make sure it’s accessible and dry.
If the subpanel’s going in a separate structure (like a detached garage), you’ll also need to install a ground rod.
5. Connect the Wires Inside the Subpanel
Now you’re wiring the subpanel itself:
- The black and red wires connect to the main lugs.
- The white wire goes to the neutral bus.
- The ground wire connects to the ground bus.
Do not bond the neutral and ground bars together. That’s allowed in a main panel, but not in a subpanel. They must stay separate to prevent stray current on the grounding path.
Some subpanels include a green bonding screw. Leave it out for subpanel setups.
6. Ground the Subpanel (Detached Buildings Only)
If the subpanel is installed in a structure separate from the main house, drive an 8-foot ground rod into the earth outside. Connect it to the subpanel’s ground bar with 6 AWG copper.
This grounding path is essential for detached structures. Skipping it is both unsafe and a code violation.
7. Connect the Feeder Cable at the Main Panel
Back at your main panel:
- Connect the two hot wires (black and red) to the double-pole breaker
- Neutral wire to the neutral bus
- Ground wire to the ground bus
Double-check that all terminals are tight and no bare copper is exposed beyond the clamps.
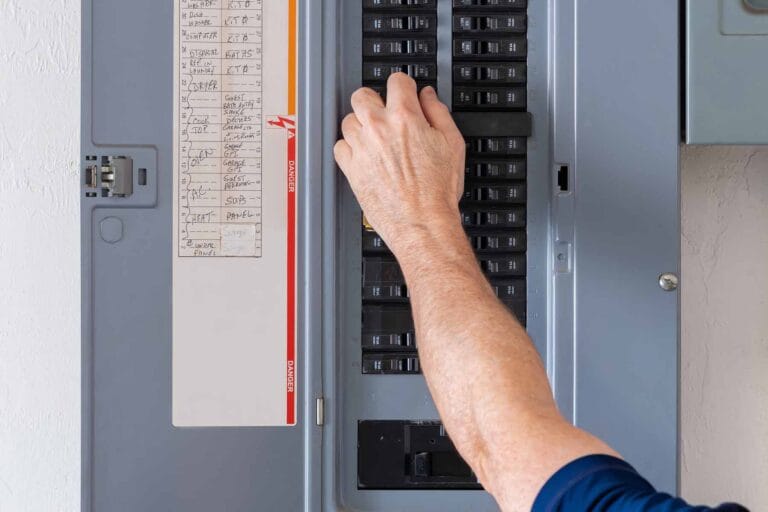
8. Test and Label Everything
Once everything’s secure, restore power at the main breaker. Then flip on the subpanel’s feeder breaker. Test voltage between hot wires (should read ~240V) and between each hot and neutral (should read ~120V).
If all looks good, label each circuit clearly inside the subpanel.
Subpanel Safety Rules: What You Can’t Ignore
A few non-negotiables:
- Neutral and ground must be isolated inside subpanels.
- Four-wire feeder cables are mandatory for all new installs.
- Use proper wire sizes, don’t guess or “get close.”
- No splices inside panels unless made with proper connectors and approved boxes.
- All work must meet local code, and most jurisdictions require a permit and inspection.
Common Mistakes to Avoid
Many issues with subpanels stem from skipping steps or trying to take shortcuts. A few to avoid:
- Using a 3-wire feeder instead of 4
- Bonding neutral and ground in both panels
- Failing to size wire correctly for the amperage
- Overloading the panel without proper load calculation
- Running wire without conduit where it’s required
Even small mistakes can lead to serious hazards. Don’t assume it’s “good enough.”
Example: Installing a 100A Garage Subpanel
Here’s a quick real-world scenario.
Let’s say you want to install a subpanel in your detached garage. You’ll be running a mini-split system, several outlets, and a 240V EV charger.
You install a 100A subpanel, mount it properly, and drive a grounding rod. You run 2 AWG copper wire through underground PVC conduit, connecting it to a 100A double-pole breaker in the main panel.
Inside the subpanel, you keep the neutral and ground isolated, wire up your circuits, and pass inspection.
This setup not only adds function to your garage, it gives you room to grow later.
FAQ
Do I need a grounding rod for every subpanel?
Only if it’s in a separate structure. Indoor subpanels inside the same building don’t need one.
Can I feed a 125A panel with a 60A breaker?
Yes. The panel’s rating is its maximum capacity. It’s safe to underfeed it, as long as your breaker and wire are properly rated.
Is this legal to do as a homeowner?
In most areas, yes, with a permit. But you’ll still need to follow code and pass inspection.
Final Thoughts
A subpanel is a smart upgrade, especially if you’re expanding or modernizing your home. When done right, it adds capacity, flexibility, and safety to your electrical system.
But don’t rush it.
Understand the layout. Use the right materials. Separate your neutral and ground. And when in doubt, get a second opinion or hire a licensed electrician.
Doing it by the book isn’t just about code. It’s about protecting your home.